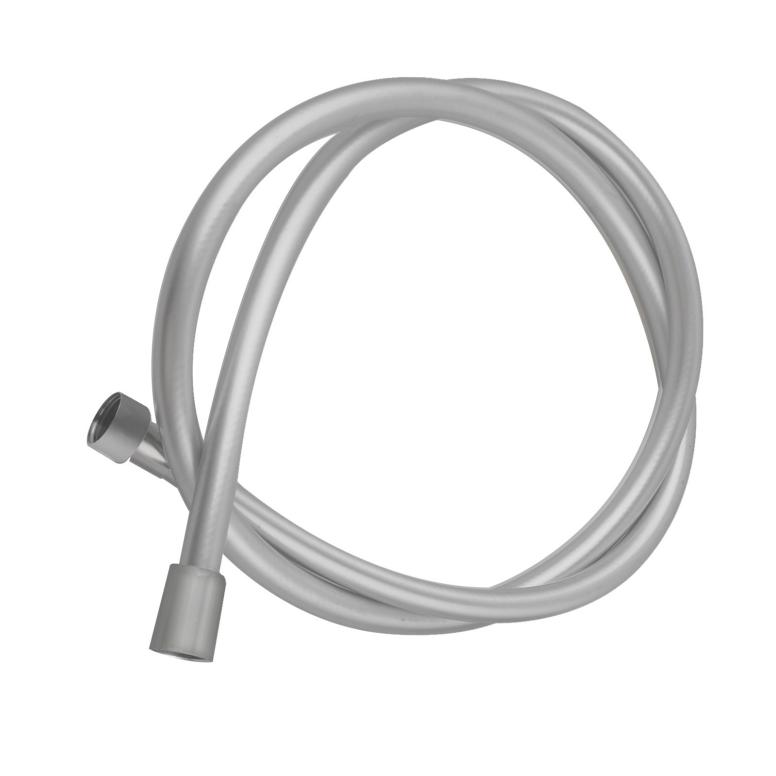
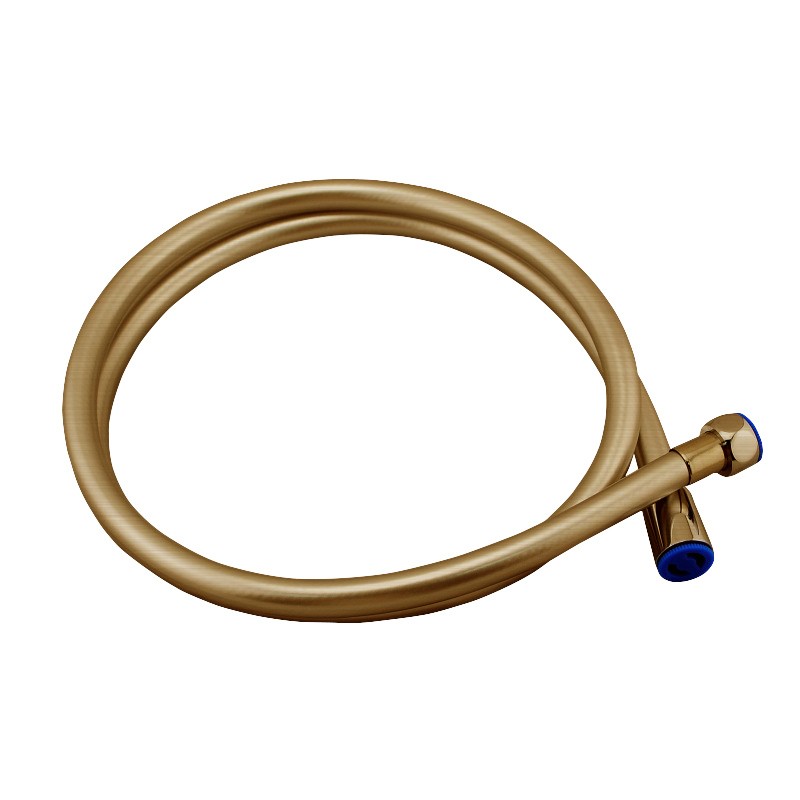
If your shower hose starts leaking or becomes loose, it's time to replace it. This is a job that most homeowners can do themselves with a few simple tools. In this blog post, we will walk you through the steps of replacing a shower hose. We'll also provide you with a list of what you'll need to get the job done.

Preparation for shower hose replacement
Anyone who has ever replaced a shower hose knows that there is always a small amount of water left in the hose after the shower is turned off. This can be a problem if the hose is accidentally removed, as water can leak out and contaminate the bathroom floor or walls. However, there is an easy way to prevent this from happening. Before removing the old hose, simply place an old towel under the shower to catch any dripping water.
In addition, be sure to check the specs of your new hose before you buy it, as some hoses have different specs than the old ones and may not fit properly.
Then, get the equipment you need for the shower hose replacement:
An adjustable wrench
A pair of pliers
A new shower hose (one that fits your shower)
Teflon tape (optional)
Old towel
How to replace a shower hose

Step 1: Turn off the water in your shower. This is usually done by turning a knob located behind the showerhead. If you can't find it there, check your home's main water shutoff valve.
Step 2: Remove the old shower hose by unscrewing it from the showerhead or wall connection. Some hoses have a decorative cover that needs to be removed before you can access the screw holding the hose in place.
Step 3: Clean the threads on the showerhead or wall connection with a wire brush. This will remove any deposits that are preventing a good seal.
Step 4: Wrap Teflon tape around the threads in a clockwise direction. This will help to create a watertight seal, preventing leaks. It's also important to make sure that the end of the hose is properly secured. Otherwise, water could escape and cause pollution to your bathroom.
Step 5: Be careful not to overtighten the new hose when you screw it on in its place. You may also need to replace the Gasket at this time.
Step 6: Turn on the water and check for leaks. If you see any wrong, tighten the connection until the leak stops. And that's it! You've successfully replaced your shower hose!
How to maintain a shower hose?
Now that you've replaced your shower hose, it's important to know how to properly care for it. This will help to prevent leaks and extend the life of your new hose. Here are a few tips:
Never use harsh chemicals or cleaners on your shower hose, as they can damage the material and cause premature wear.
Inspect your hose regularly for signs of wear and tear, such as cracks or fraying. If you see any damage, replace the hose immediately.
Always store your bath shower hose in a cool, dry place when not in use. This will help to prevent mildew and mold growth.
Conclusion
Replacing a shower hose is a relatively easy job that most homeowners can do on their own, and with just a few supplies and a little expertise, you can start showering in no time. Be sure to follow the steps above and you will have your new hose installed in no time. Thanks for reading!

Leave a Reply